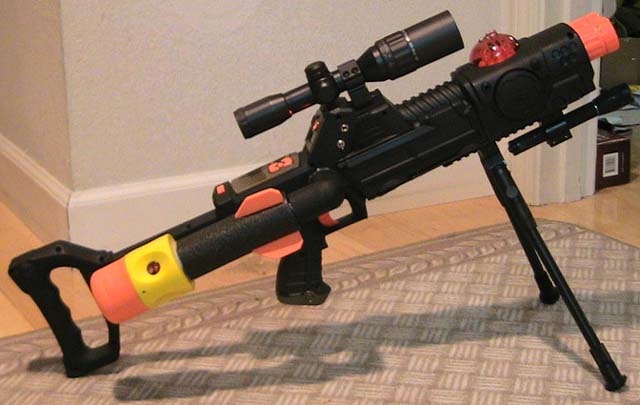
I built it from a stock TMB rifle. It's called a designated marksman rifle after the military's non dedicated sniper rifles such as the SR-25 Stoner rifle or MSG-90. These are designed with a semi-automatic capabitity and enables the support of a squad in the 400 to 500 yard range. The Merc II is light, compact, and perfect for urban fighting where short range to medium range sniping is ideal, however it does have the range and accuracy to be an extremely effective long range sniper rifle as well.
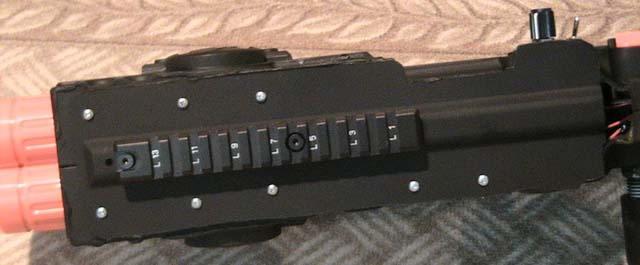
I first opened it up and gutted it, *carefully* putting all the electronics in a safe place. I then took the two halves and marked off what I was cutting (the launcher) with a sharpie. I marked off on the right side just below the posts that hold the battery pack in place. On the left I cut off just below where the prongs on the battery pack cover. Then I used a Dremel drill with a cutoff blade to cut off the launcher. I then took a piece of scrap plastic from my brother's Nissan Pathfinder's glovebox we cut out and cut it into the shape of the bottom side of the rifle, covering the gaping hole. i made sure that one of the structural ridges on the plate was centered so i could attach one of my G36 metal handguard rails to it.
 Going back to the electronics, I cut the three wires that charge up the grenade and set those aside. I then soldered a headphone jack, a toggle switch and a potentiometer into the circuit going into the speaker and cut holes in the body for those. The earpiece is just an old ipod headphone with one cut off and then soldered to a mono plug assembly. I then cut a hole in the right side for the grenade chargers to slip throught and then screwed on a threaded 3/4" pvc pipe cap. I cut off the post that the grenade goes on and epoxyed it into a 3/4'' pvc elbow joint with one end threaded. I had to sand the side that the post goes into in order for the post to fit. It was about half a mil off. I then painted everything before I finished assembly. I used Krylon's camoflauge paint with Fusion technology so it bonds to the plastic without priming. It's an ultra flat black paint so theres vitually no reflection and in a dark room u cant see it at all... except for the blaze orange tip! :) Once everything dried, I assembled all the electronics into the rifle and fed the grenade chargers throught the hole on the right side before closing it up and screwing it all together. I then soldered on a 3 prong connector from one of my 120 mm computer fans giving the hand grenade function a semi removable feature. The pipes screw on really tight so it takes a big wrench and some elbow grease to remove it, but its still a nice feature to be able to take it off. After all that it was pretty much done. I just installed my G36 rail and put my scope on. I used a UTG 6x32 illuminated mini size scope. Its light and it focuses down to 3 yards so I love it. The instalation of the scope is fairly straightforward. I tightened one pitcanny scope ring on the preinstalled rail on the TMB. I then placed the scope on with the ring as far forward as possible and tightend it on. the scope ends up being just about right ergonomics-wise.

So that's pretty much it. I added a UTG universal bipod and a maglight tactical light mount as well as a forward handgrip from my airsoft M-4. Feel free to ask any and as many questions as you want for clarification or addition. It's a beautiful gun and a fairly simple mod, and it looks pretty sweet, too.